You must have heard of teachers enjoying teaching through overhead projectors. Before the advent of advanced digital-based projectors, overhead projectors helped in fields other than teaching. In this article, we will see what an overhead projector is. How does it work? What are its uses?
Overhead projector (OHP)
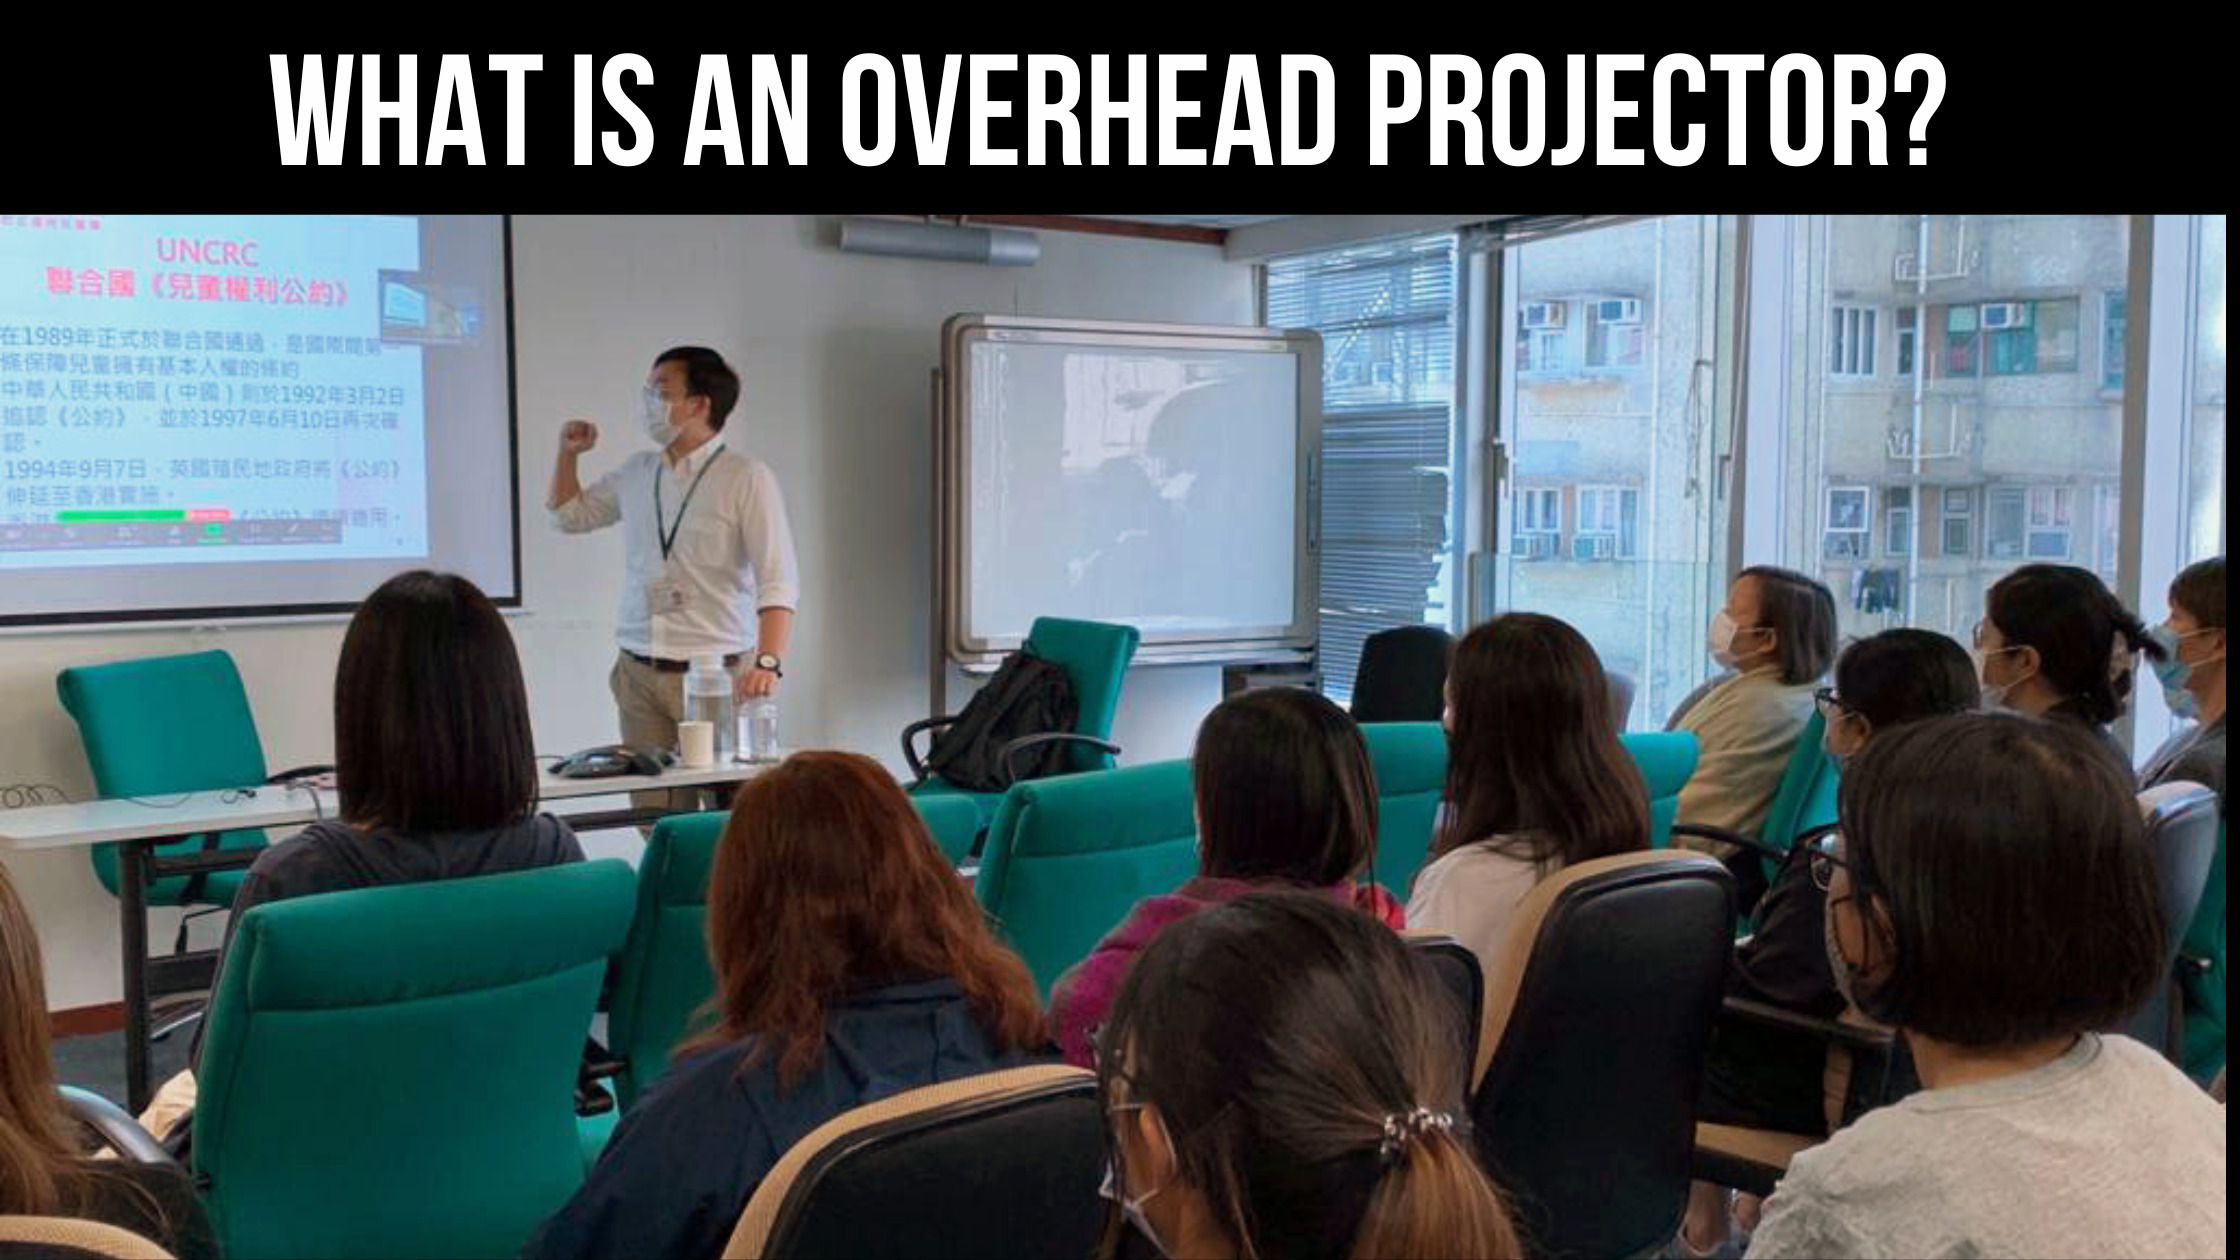
An overhead projector is a kind of projector that projects images on the screen with the help of an overhead mirror. It is a simple device to show images on a screen or a wall. It has a cooling fan and a very bright light. An extended arm is present above it that captures light and sends it toward the screen.
An overhead projector has a transparent flat top where transparency such as a sheet is on top of it. An overhead mirror captures the images and reflects them on the screen. During World war ll, the overhead projectors helped a lot in training the military. During the 1960s, its use was common in education and business. Even In 1990, every classroom and office had an overhead projector installed in the USA.
Purpose of OHP
- It can help you in developing your concept regarding a subject.
- It allows you to share a document or a picture with the audience.
- Through it, you can record your discussion.
How to Use an Overhead Projector?
- Keep the overhead projector on table 2 to 3 feet above the ground
- Put an objective lens in front of the screen at the back of the teacher
- Connect he projector to a power source
- First, turn on the blower and then the bulb
- Place transparent materials like acetate or cellophane on the top of the glass
- Adjust the objective lens and mirror
- Now, explain using a pointer.
What are Overhead Transparencies?
Transparency may consist of a photographic film, acetate, or another transparent material. The material must be able to get prints or drawings. Transparencies are easy to prepare. You are required 10х10 inch sheet on the platform. The sheet may be printed or drawn. The projector is at the front and the teacher is near the projector such that the screen is behind the teacher.
Tips to Prepare a Good Transparency
- The print should be horizontally
- Try to use bigger texts
- Use black color
- Don’t use very dark and dim colors
- Apply 66 rules – 6 lines per page and 6 words per line
- Don’t use a typewritten page from a book
- Use a pointer to write notes on the transparency
How to Prepare OHP Transparencies?
Take a standard acetate sheet of 18cm approx. The transparencies may be temporary or permanent. Temporary markers which have water-soluble ink, are washable after use. While permanent markers with oil or wax-based ink are preserved for a long time. So, if you want to use transparency again, choose temporary transparency.
For transparency, bright or contrasting colors are a good option. The best colors to use are black, blue and green. If you need to put margins or arrows, use them properly. When drawing an image or showing a copy of a printed image, select a larger size. Making and using transparency is an art. You can use your artistic skills to make them creative. If you have made transparency good enough for your future classes, you may enjoy using it in other ways.
How to Prepare an Overhead Transparency
- First, make a sketch
- Choose the part of the sketch for base and overlays
- Prepare master drawings for both parts
- From the master drawings, prepare a transparency
- Prepare a frame
- Keep the transparency on the frame with the base under the frame
- Check the alignment of the transparency
How Does an Overhead Projector Work?
An overhead projector has a large box that comprises two parts: a lamp and a cooling fan. It has a long arm above the box, where a lens and mirrors redirect the coming light. Transparencies are at the top of the lens. Light travels through transparency and shines on the mirror. The mirror shows the image to presenter and the audience. If you want to change the image size, you can change the mirror height.
1. Adjustment of Focal length
The mirror does not keep the correct focal distance if placed too high or too low. As a result, fringes appear around the edges of the screen. High-quality projectors provide an adjustment wheel. The wheel helps to move the lamp as required.
2. Illumination
Some Overhead projectors have high-power lamps which consume up to 750watt. They produce a dim image. So to avoid melting, a high-flower bulb is in use. Also, the halogen lamps barely last up to 100 hours. That’s why modern LCD or DLP have efficient arc lamps. They can last for several hours
3. Use of Overhead Projectors in Education
Overhead projectors provide an interactive environment for teachers and students. You can pre-print the content on the sheet and can write on it while presenting. It saves your time and also keeps a flow in the presentation. Once the transparent sheet is full, replace it with a new sheet. The new sheet also has pre-printed material. You can also wash the sheet with soap after your class.
Presentation Techniques for Overhead Projectors
- Use the ON/OFF switch according to your requirement.
- ON when facing the sheet
- OFF when you are facing the audience
- Use the stage as you use a chalkboard i.e., transparency pen on an acetate sheet
- You can add notes with the presentation or you can display them in parts as well
- You can show group discussions on the sheets for better communication
- Use colored pens, coins, and pointers to emphasize the points
- Use a water-soluble pen if you want to re-use the transparency
- Do not move the overhead projector during the presentation
Advantages of Overhead Projectors
- Cheap and easily available
- Easy to prepare and time-saving
- Spontaneous content improves the viewer’s attention
- Easy to handle
- Projects images in large sizes
Disadvantages of Overhead Projectors
- You can’t use it if the power supply is lost
- Heavy and difficult to transport
- Instructor dependent
- Non-transparent materials are not usable
Frequently Asked Questions
Q: What are the parts of an overhead projector?
A: Overhead Projector has three main parts. A box which contains a lamp and a cooling fan. Then there is a Fresnel lens which magnifies the light. A head which projects the image and a projection media.
Q: What are the disadvantages of overhead projectors?
A: The disadvantages of overhead projects are that they require transparency. They need proper distance and angle to provide you with a better resolution. They are bulky too.
Q: What should I look for in an overhead projector?
A: You should look for in an overhead projector, the type of lens, the lumens or brightness, and then the price too. You must know how its cooling system is effective and how the resolution is good.
Final Verdict
Overhead projectors are no doubt very useful for teaching and presenting. They enable educators to teach in a highly organized way. The ability to make notes is beneficial too. So, if you use a high-quality overhead projector, you can get the desired results whether you are a student or a teacher.
Best Overhead Projectors Recommendations
1. Apollo Horizon 2 Overhead Projector
Apollo Horizon 2 Overhead Projector can improve your description. It has a double-Fresnel lens that ensures sharpness. A high cooling system also prevents damage due to over-heating. It provides 2000 lumen light output. Its weight is 12 Ibs and is easily moveable.
2. Hygloss Overhead Projector Acetate Sheets
Hygloss overhead projector acetate sheets can brighten your presentation. A single sheet is of 8.5х11 inches. The sheets are flexible and easy to use. These acetate sheets are useful for crafts. The sheets are acid-free and are rigid.
